Quick Start Guide
This guide walks you through the essential steps to get rotki up and running. By the end, you'll have your accounts connected, balances visible, and know how to generate a tax report.
TIP
Focused on tax reporting? This quick start covers the essentials. For a dedicated walkthrough tailored to tax reporting — including connecting data sources, reviewing transactions, and handling edge cases — see the Tax Accounting Guide.
1. Install rotki
Download and install rotki for your operating system from the official website or follow the detailed Installation Guide.
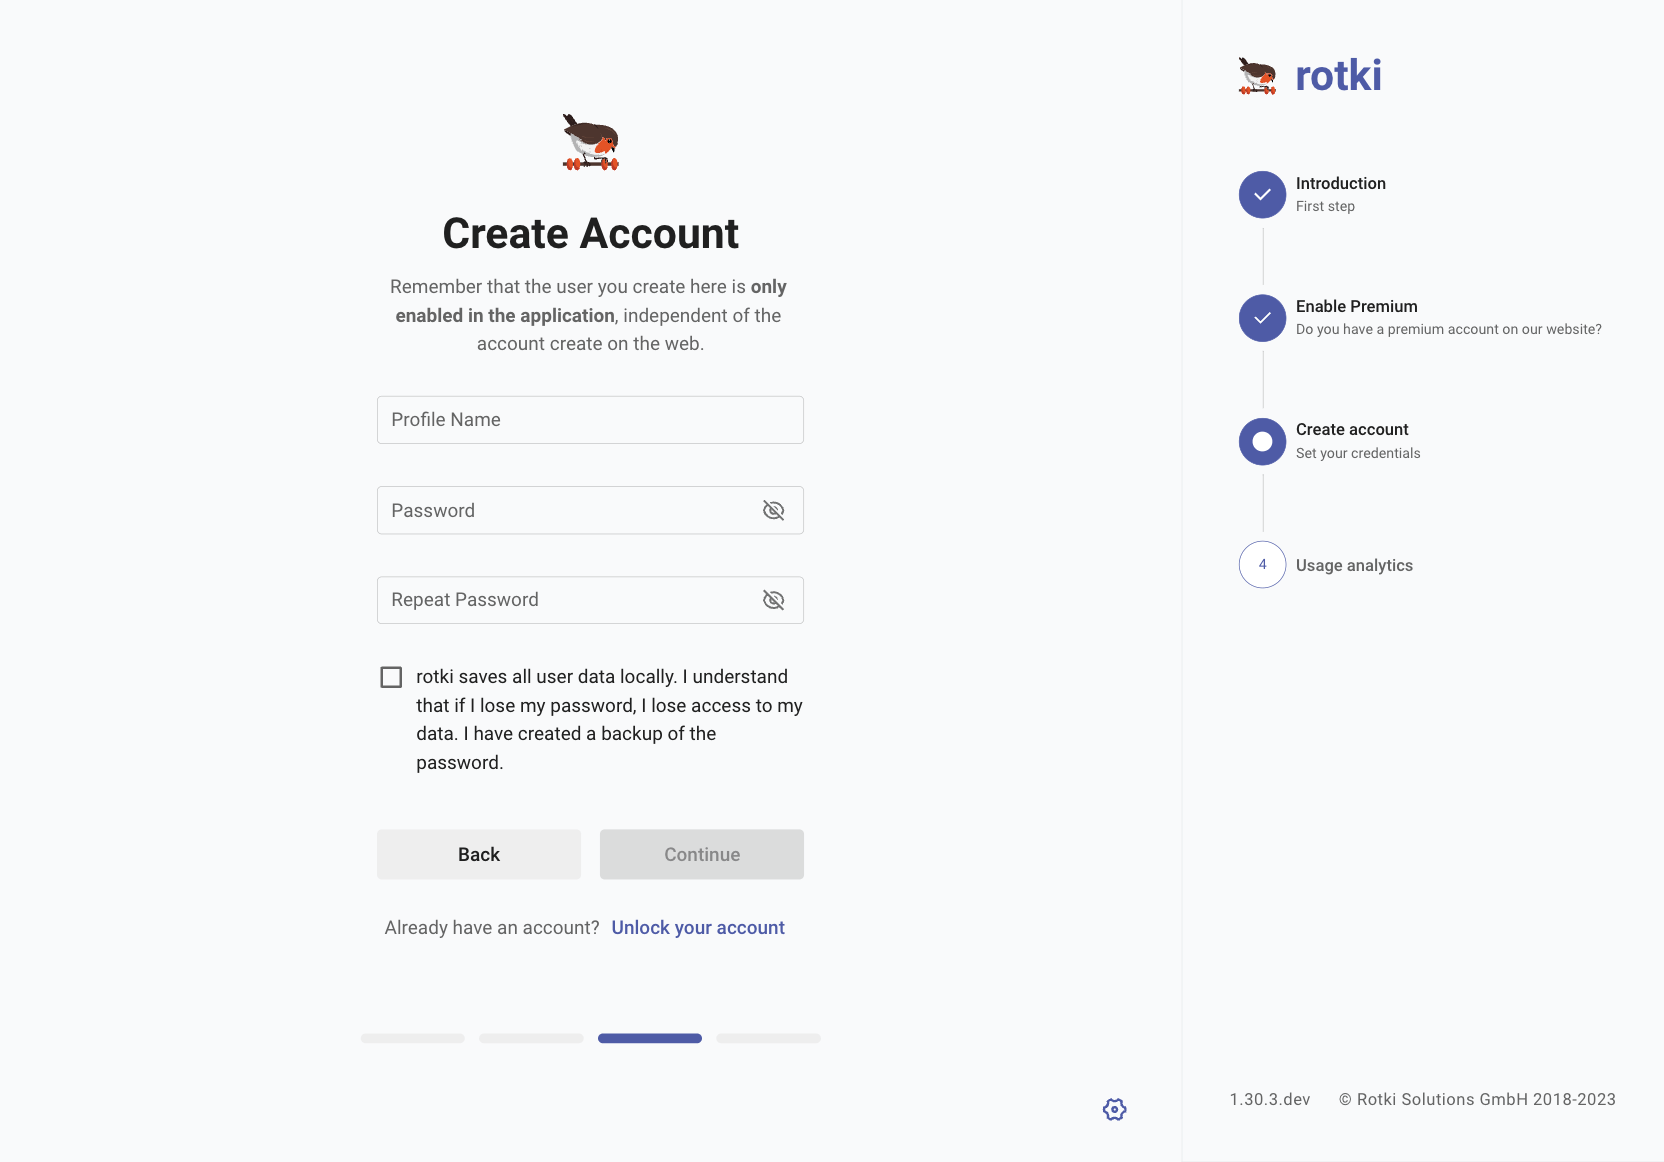
2. Create Your Account
When you first launch rotki, you'll be prompted to create a local account. This account exists only on your device — rotki doesn't store your data on any server.
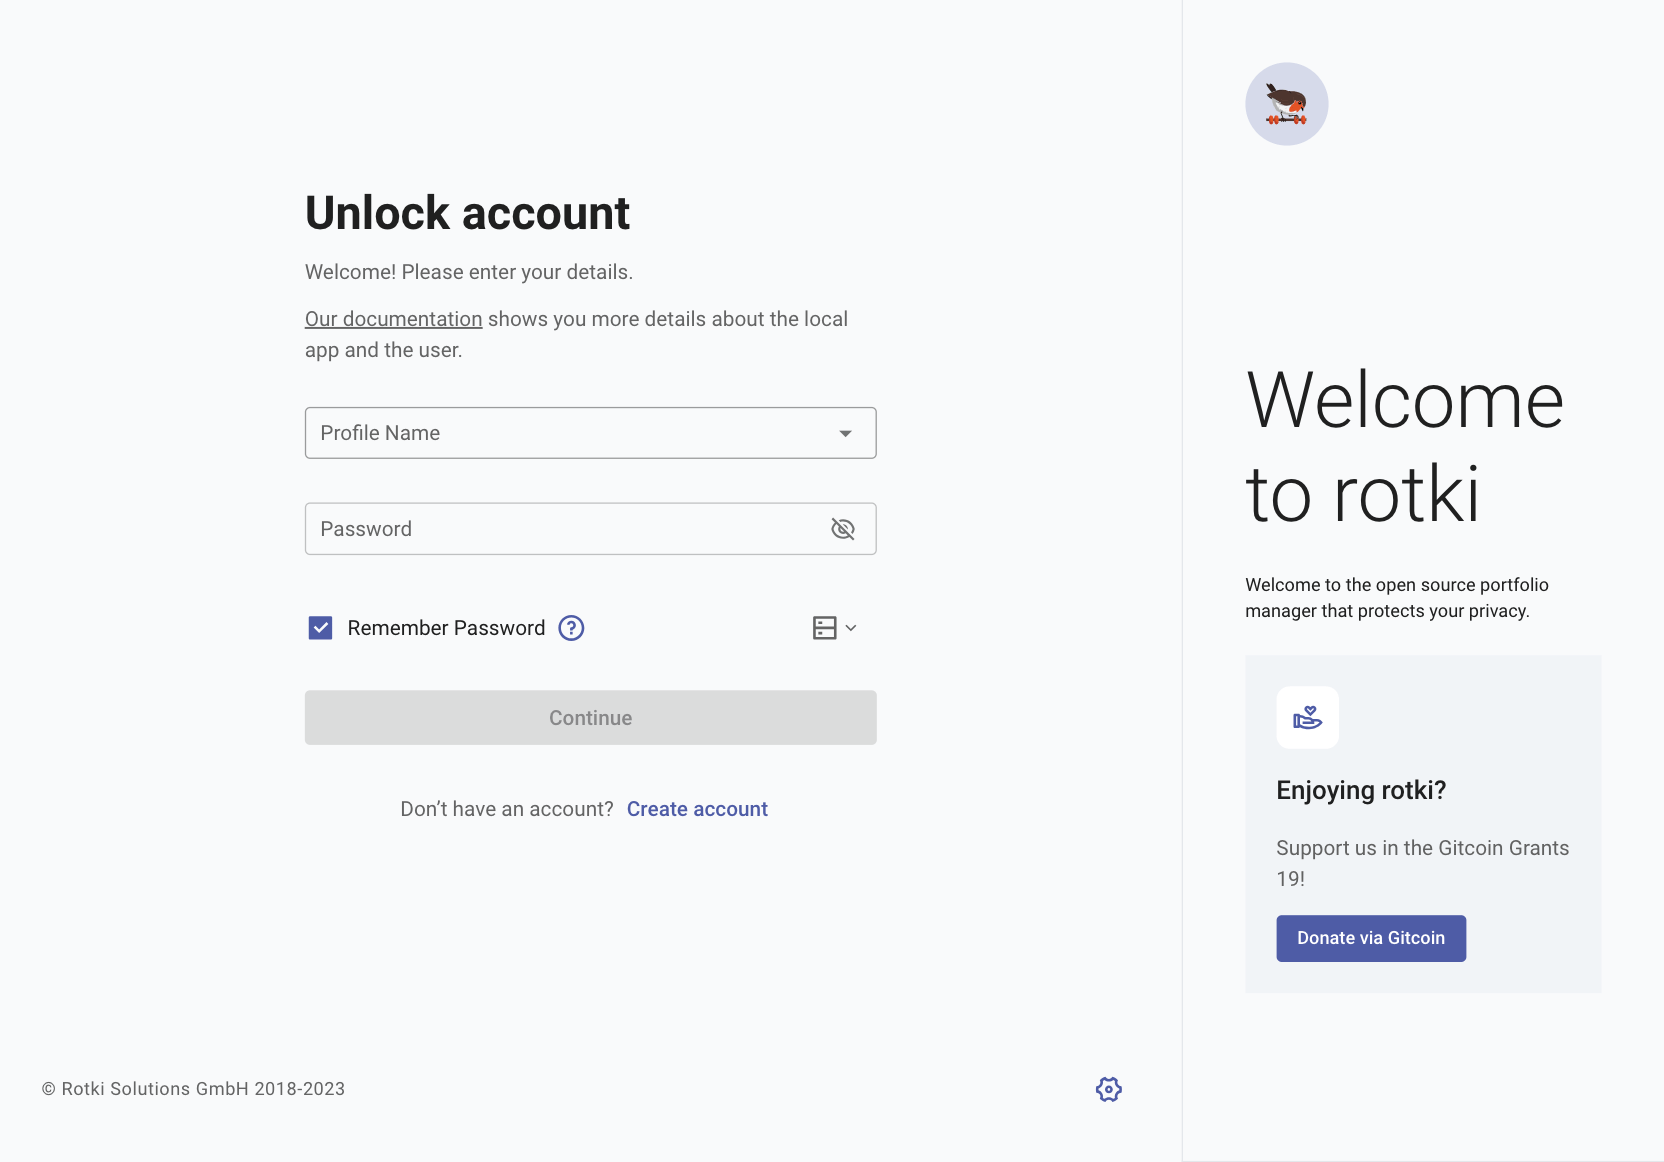
- Click Create Account
- Choose a profile name
- Set a strong password — this encrypts your local database
WARNING
Do not forget your password. It encrypts all your local data and cannot be recovered.
If you have a premium subscription, you can link it during account creation to enable cloud backup and sync. See Accounts & Sync for full details.
3. Optimize Your Setup
Before adding accounts, set up a few things to make account detection and balance queries much faster:
- Etherscan API Key — Free and significantly speeds up EVM queries (and is required for some chains like Binance Smart Chain). Go to API Keys → External Services and add your key. See External Services.
- Custom RPC Nodes — Add your own RPC endpoints (e.g., from Alchemy or Infura) for faster blockchain queries. Configure in Settings → Blockchain & EVM → RPC Nodes. See RPC Node Settings.
- Indexer Configuration — Adjust the order of indexers (Etherscan, Blockscout, Routescan) per chain for optimal performance. See Indexers.
TIP
At minimum, we strongly recommend adding a free Etherscan API key before adding your blockchain accounts. Without it, EVM queries and token detection will be significantly slower.
4. Add Your Accounts
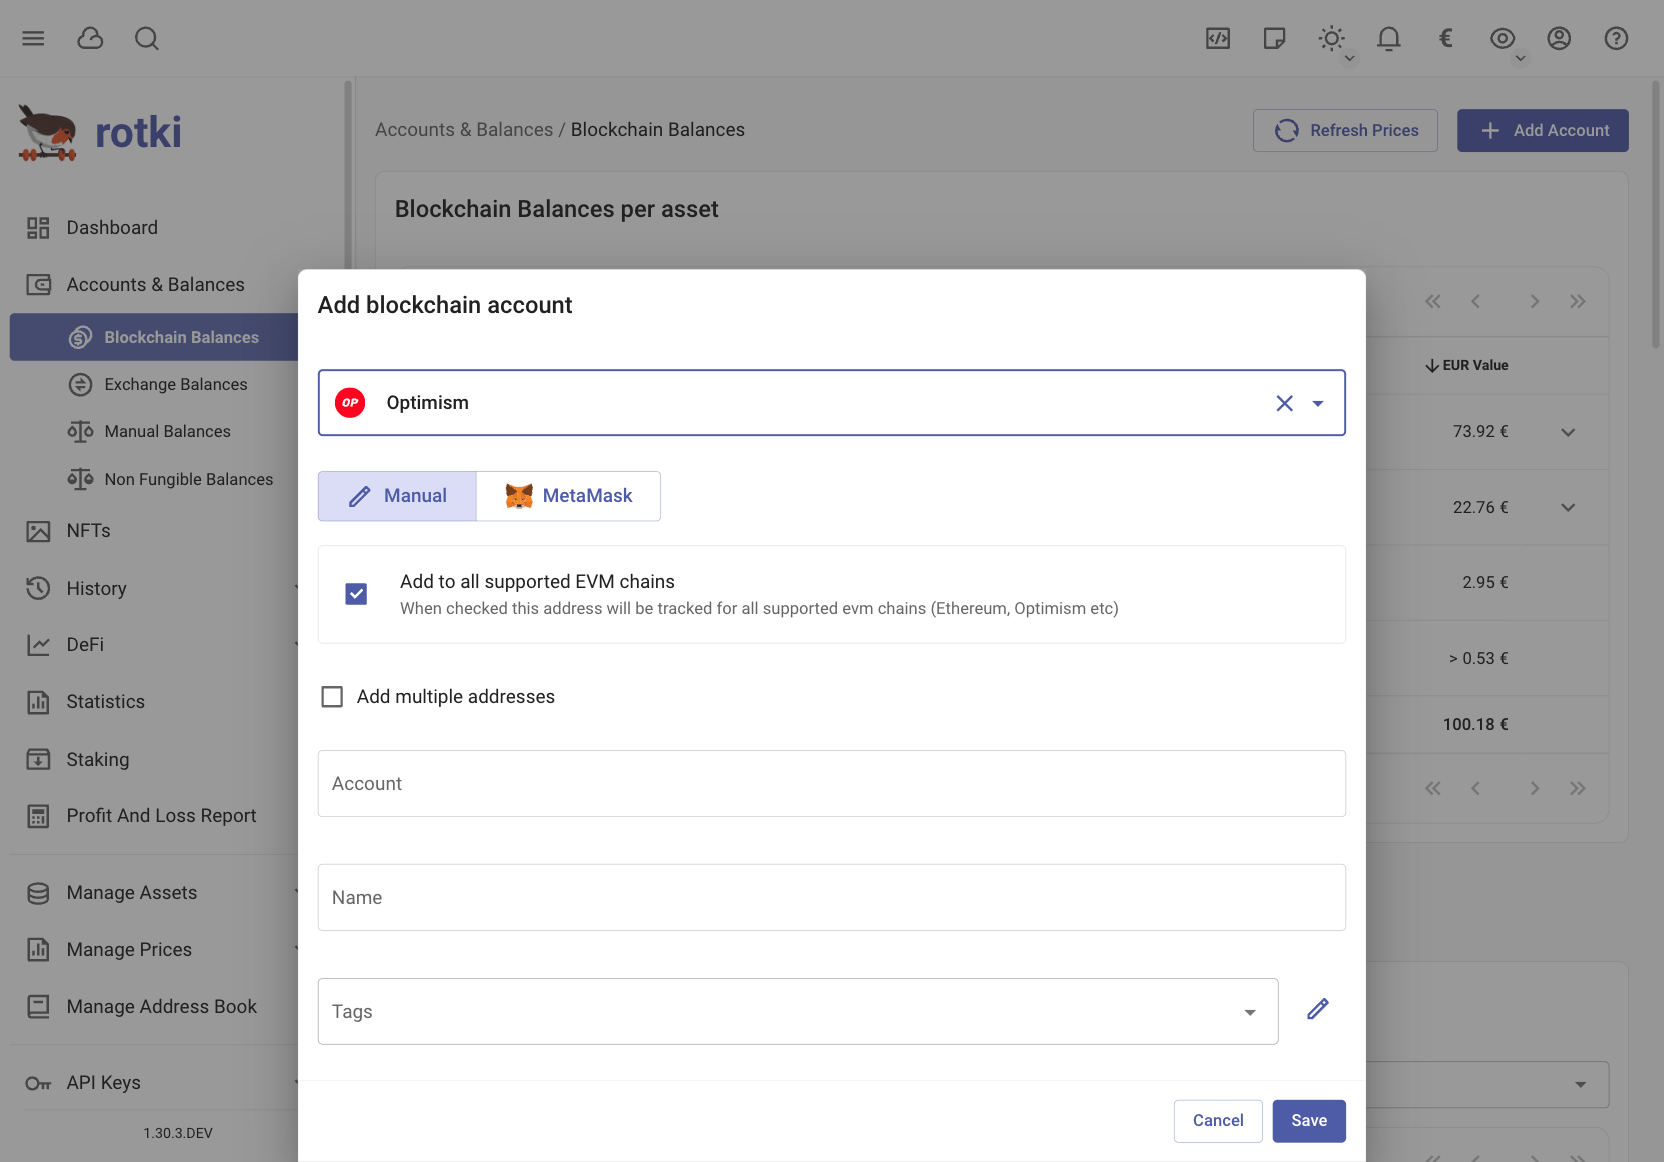
Blockchain Accounts
Navigate to Accounts in the sidebar and add your blockchain addresses:
- Select the chain category (EVM, Bitcoin, Substrate, or Solana)
- Click Add Account
- Enter your address and click Save
For EVM addresses, you can select All Supported Chains to automatically detect activity across all EVM networks.
See Accounts for details on xpub support, multi-address imports, and more.
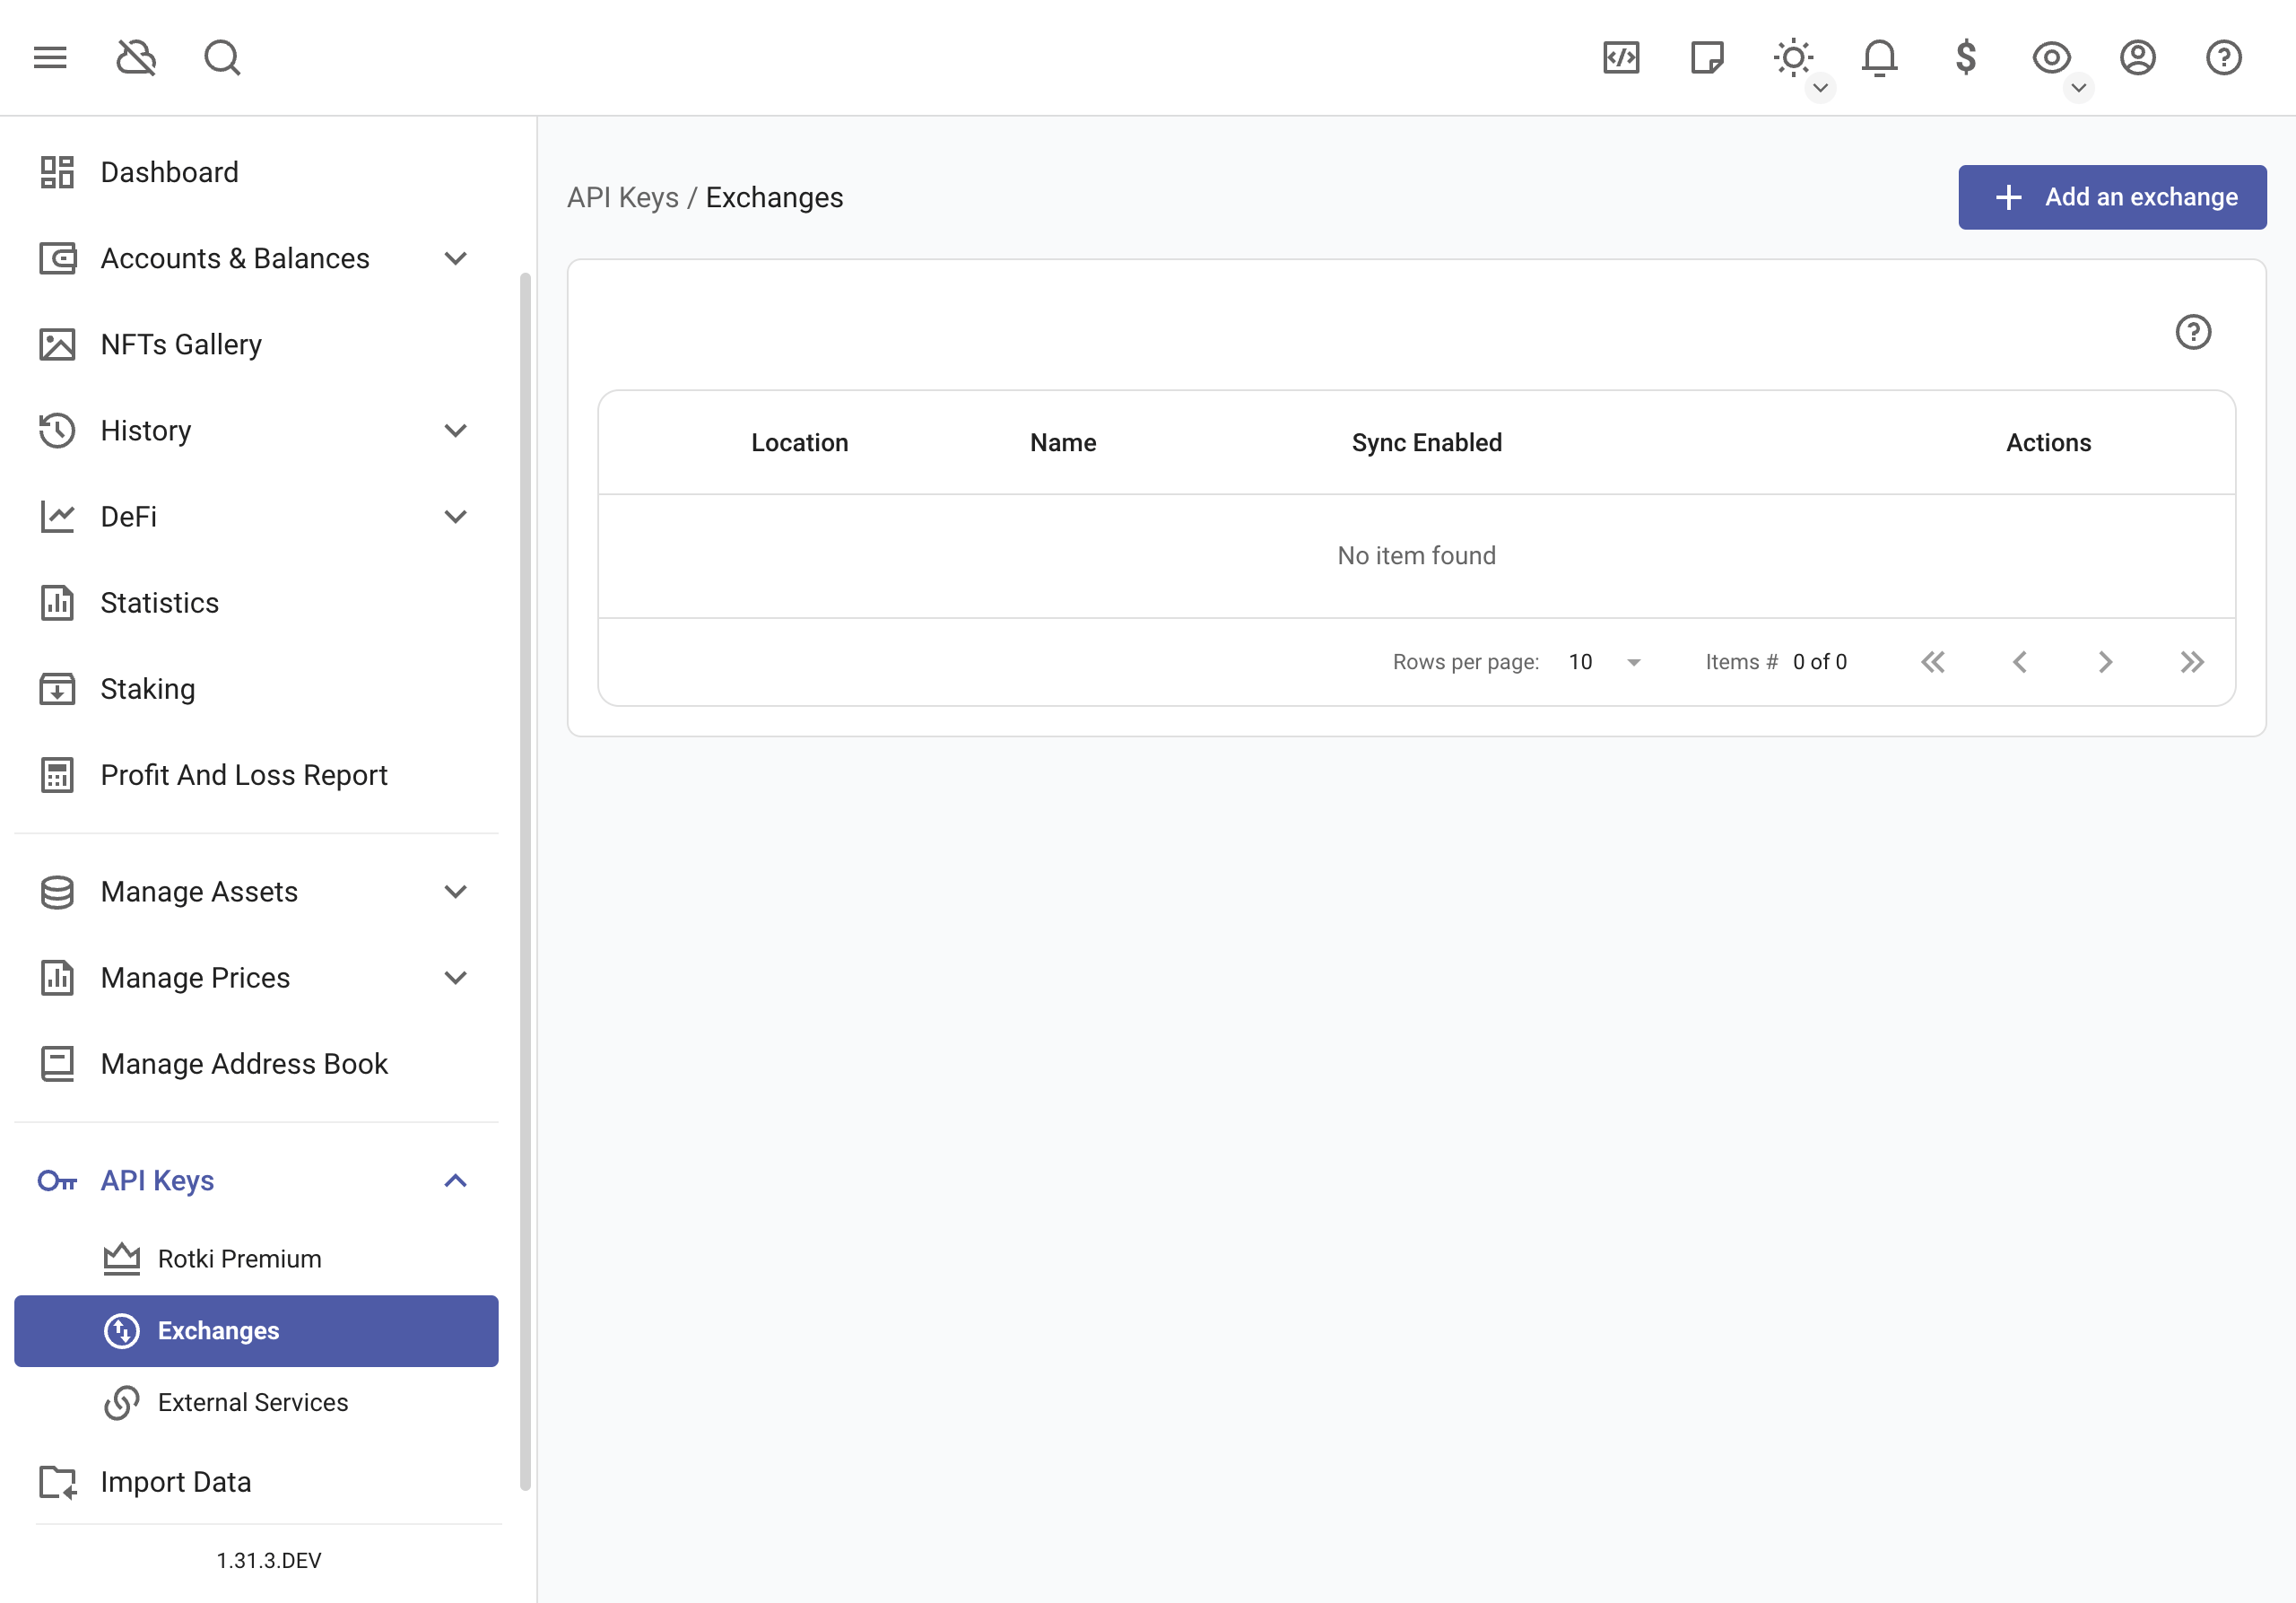
Exchange Connections
To track exchange balances and trade history:
- Go to API Keys → Exchanges in the sidebar
- Click Add an exchange
- Enter your read-only API key and secret
See Exchange API Keys for the full list of supported exchanges and per-exchange setup instructions.
5. View Your Portfolio
Once your accounts are connected, head to the Dashboard to see your portfolio overview:
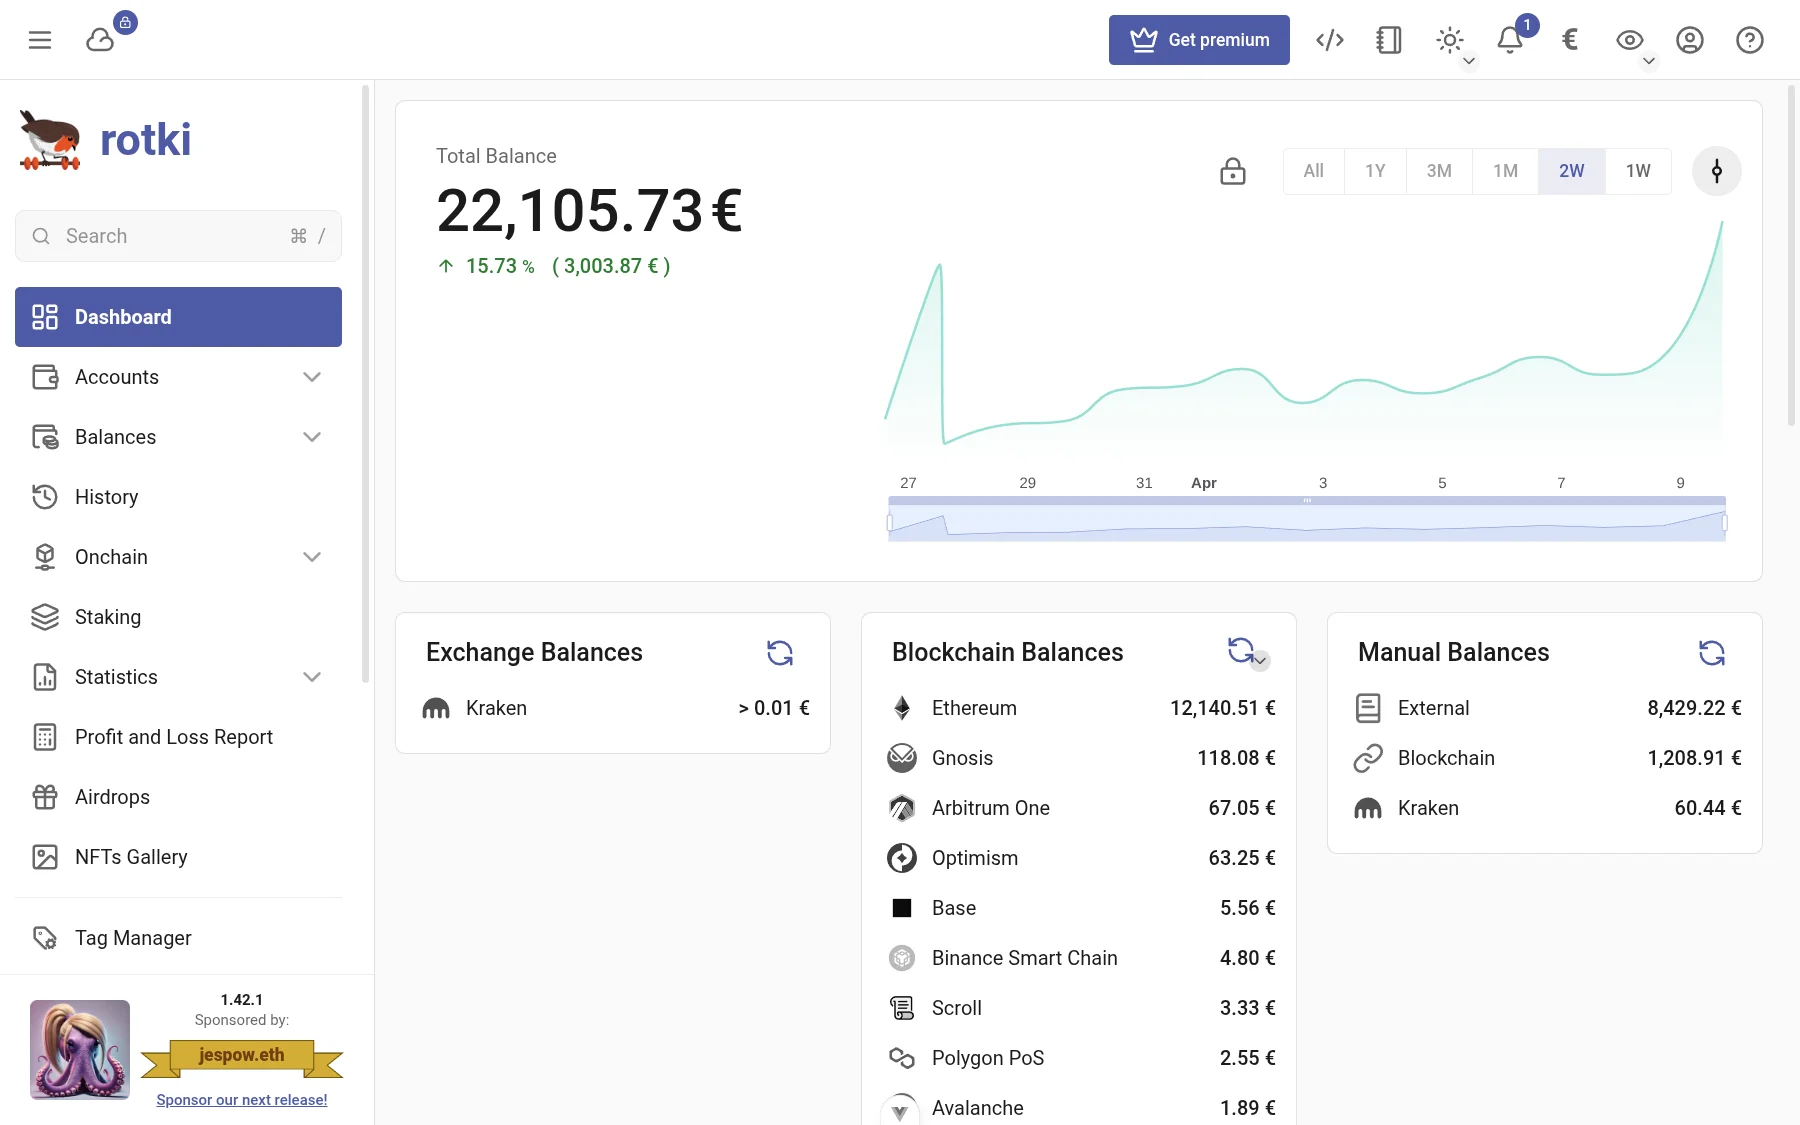
The dashboard shows:
- Total Balance — Your combined net worth across all sources
- Net Value Graph — Historical portfolio value over time
- Balance Breakdown — Split by exchange, blockchain, and manual balances
- Assets Table — All holdings sorted by value
rotki will automatically query balances and detect tokens for your tracked accounts. This initial sync may take a few minutes depending on how many accounts and chains you have.
6. Review Your History
Navigate to History → Events to see all your transactions, trades, and DeFi interactions. rotki automatically decodes on-chain transactions and categorizes them by event type.
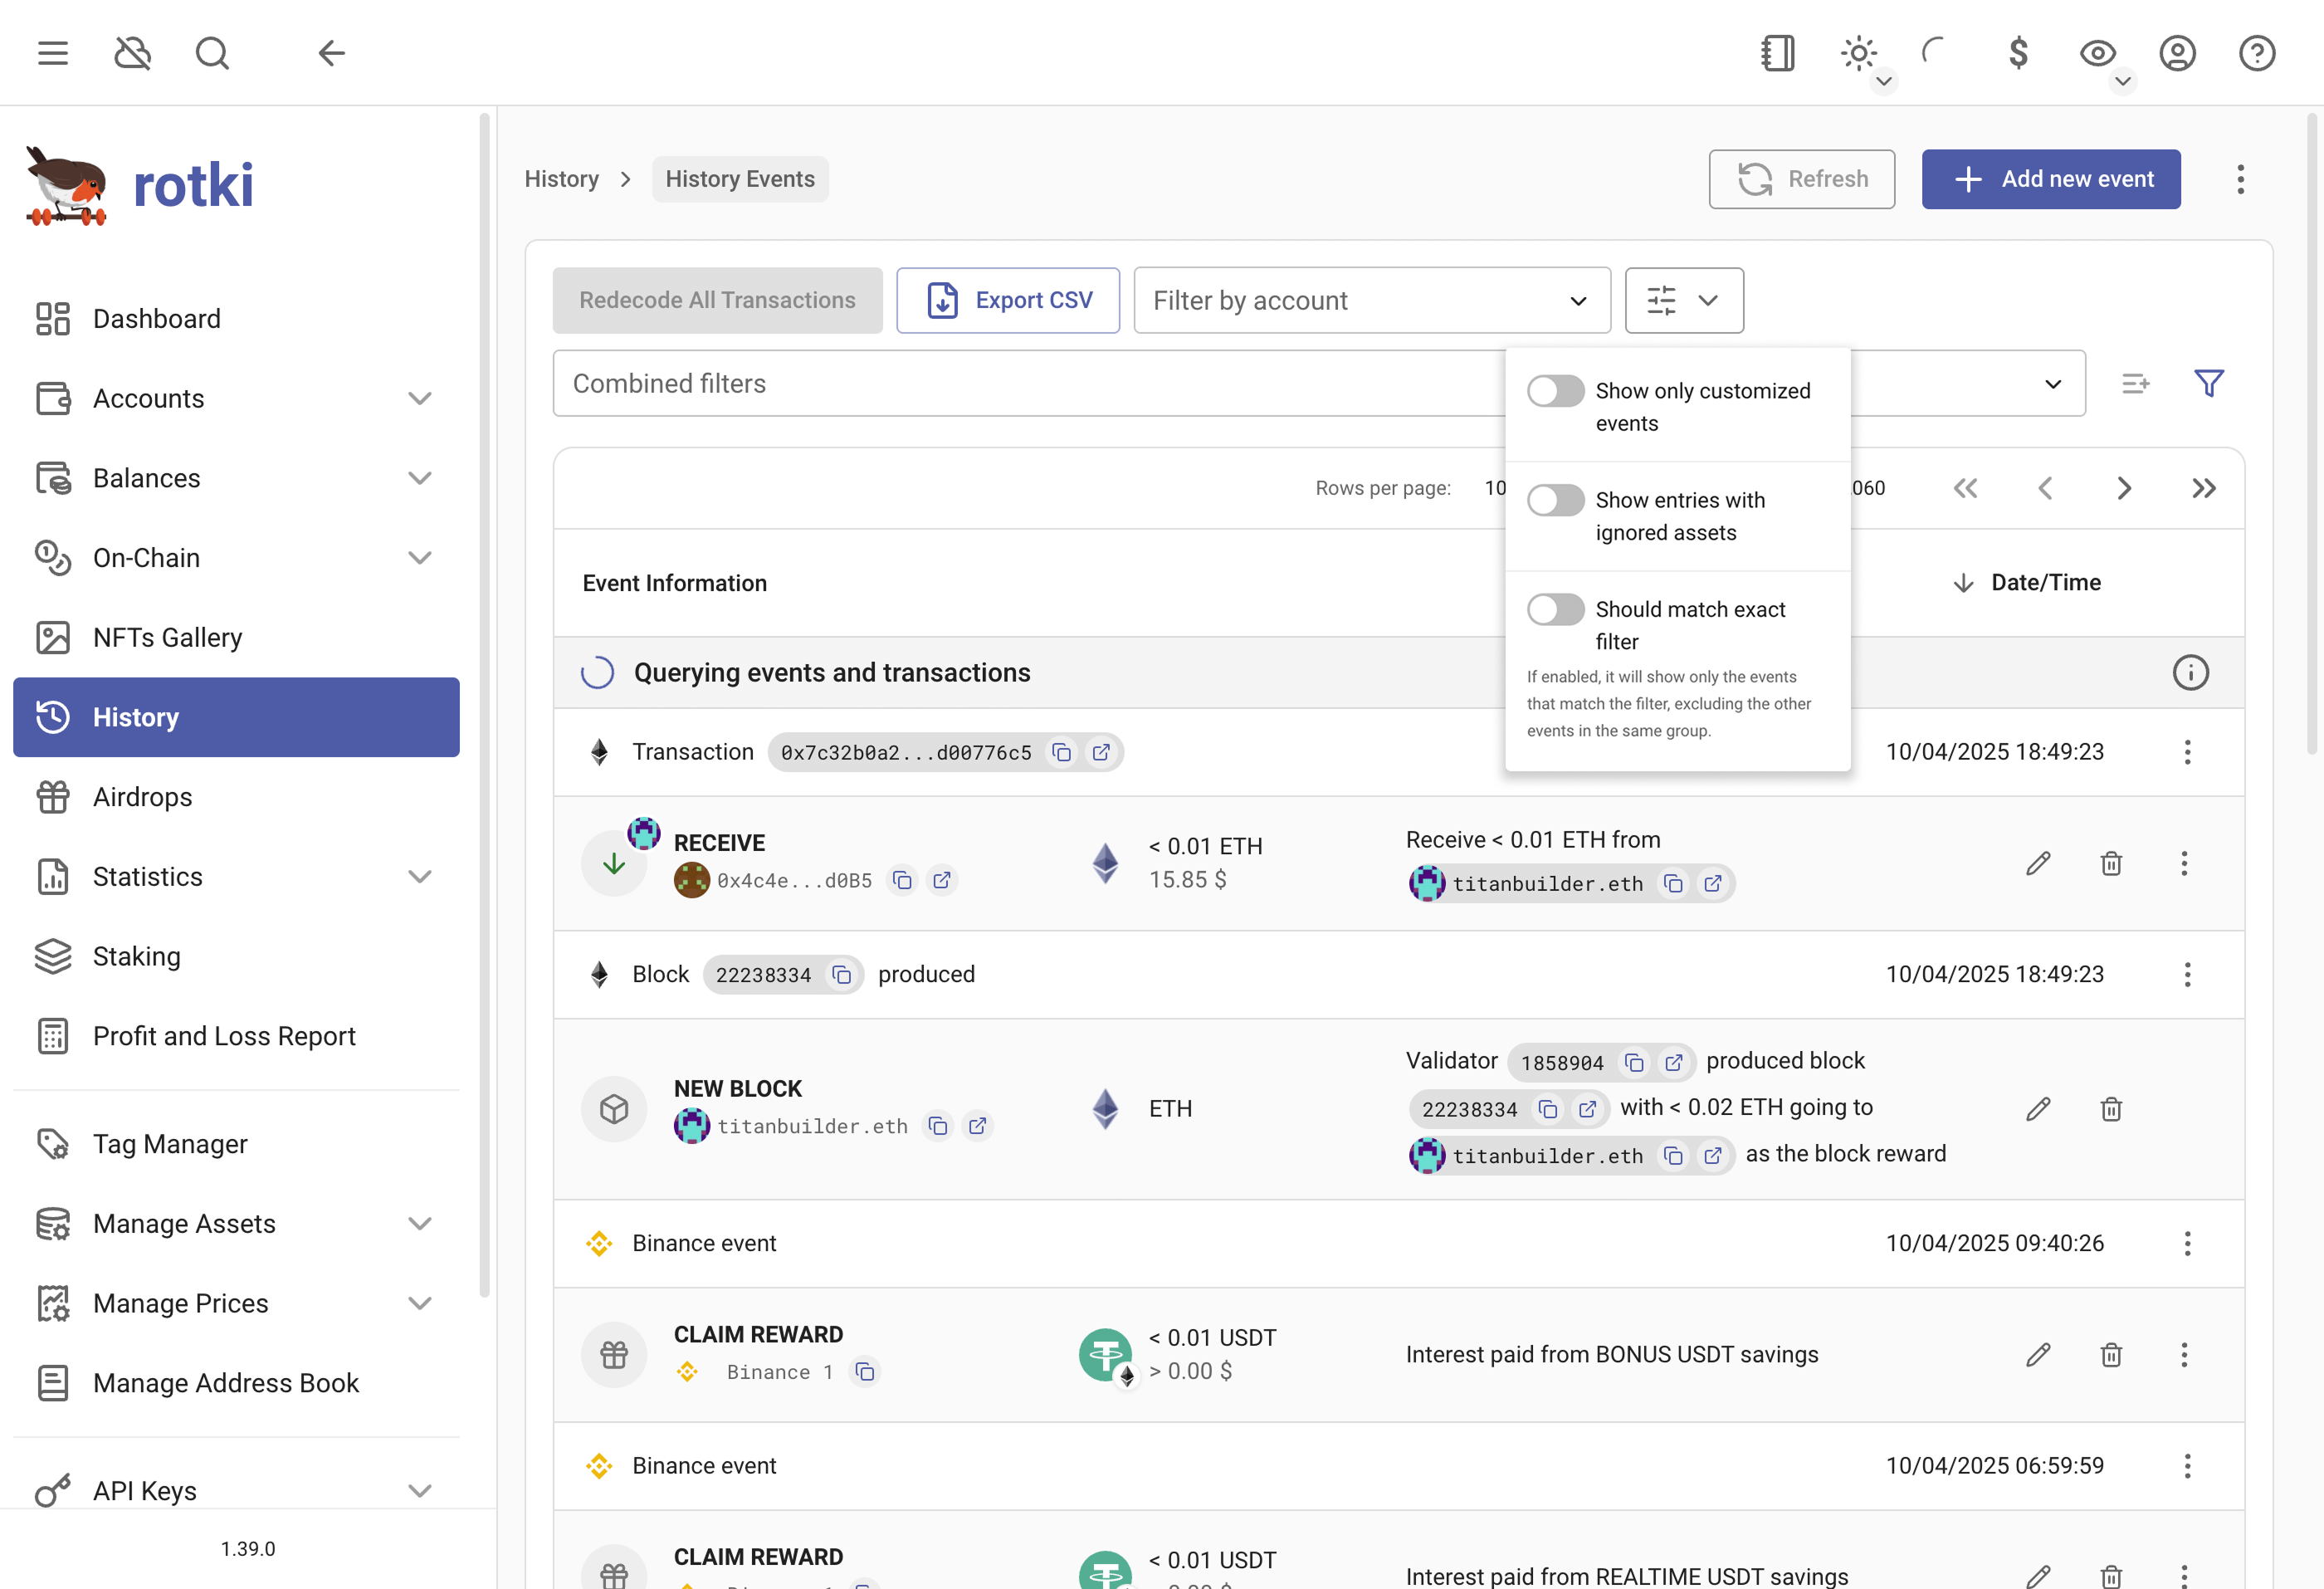
You can:
- Filter events by type, time period, or asset
- Edit events that were decoded incorrectly
- Add manual events for off-chain activity
See Historical Events for the full guide.
7. Generate a Tax Report
When you're ready to calculate your taxes:
- Go to Profit and Loss Report in the sidebar
- Select the reporting period (start and end dates)
- Review your Accounting Settings — these control how trades are calculated (FIFO, LIFO, HIFO, or ACB) and whether to apply a tax-free holding period
- Click Generate
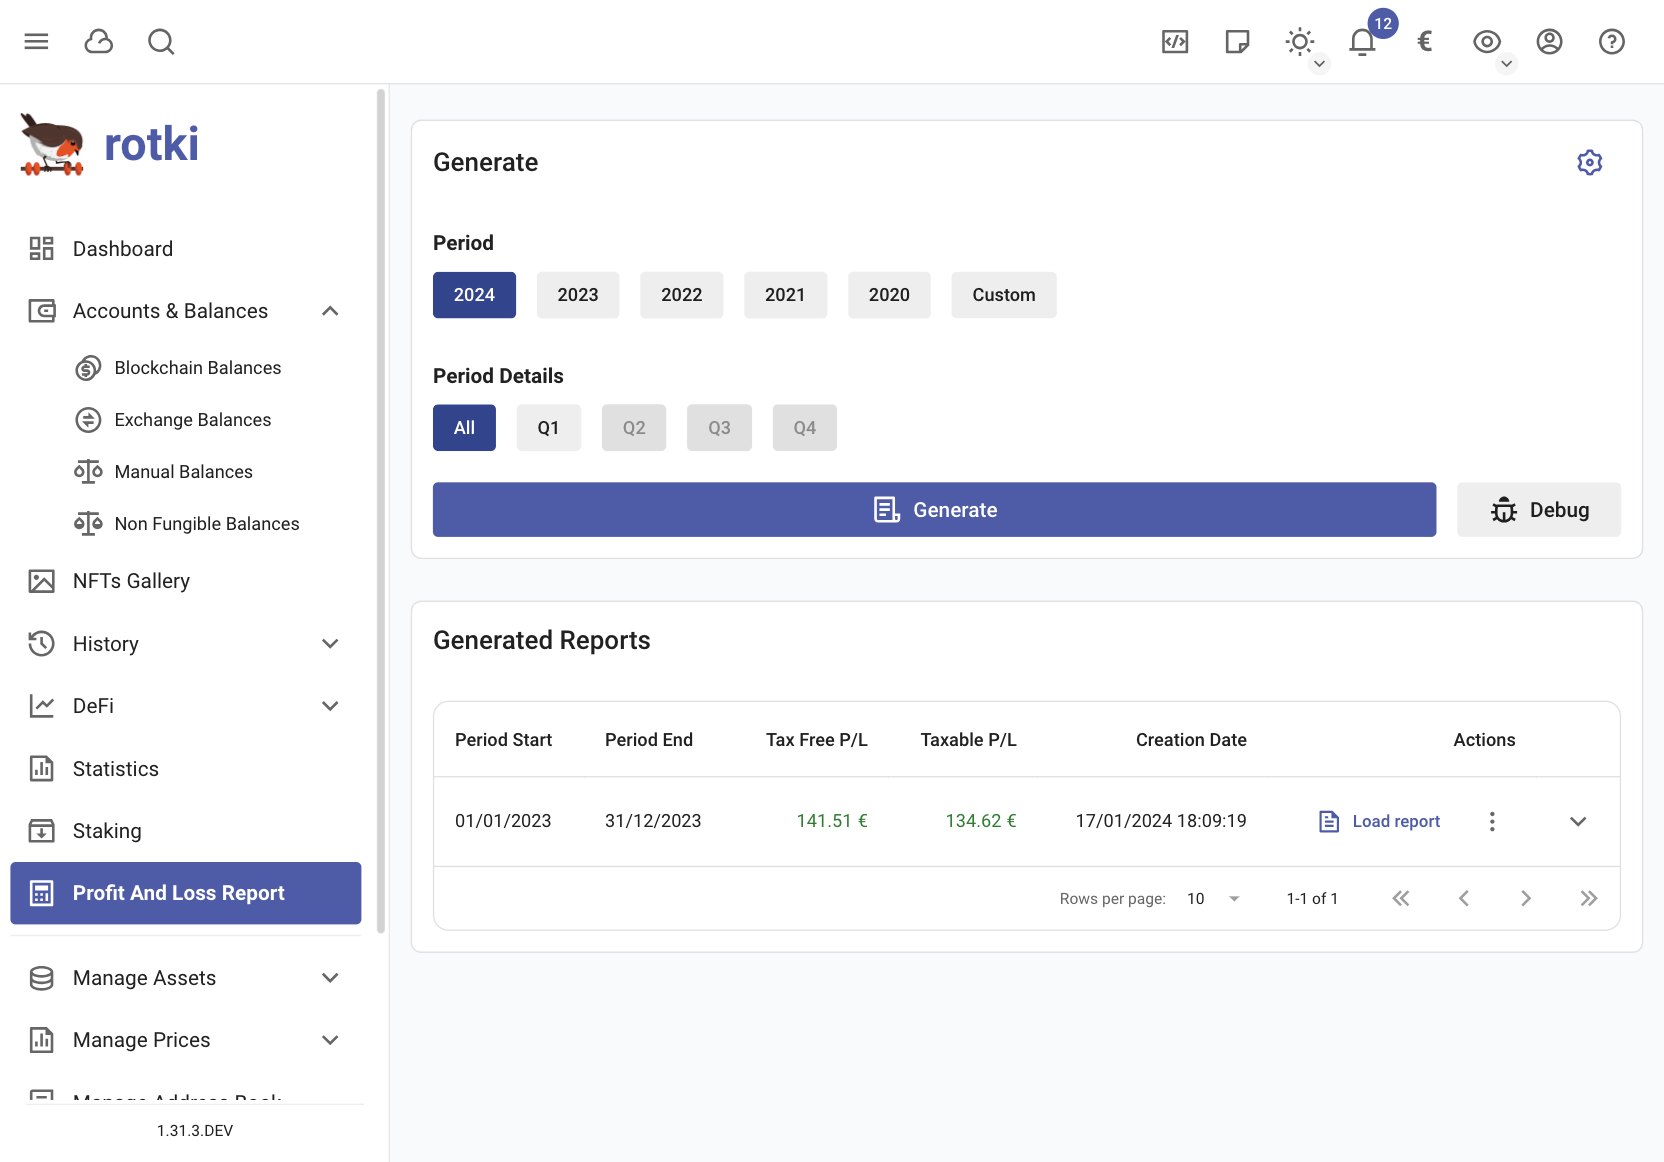
The report calculates profit and loss for every taxable event in the period, broken down by event type (trades, fees, staking rewards, airdrops, etc.). You can export the results as CSV for your tax advisor, and re-run the report with different settings if needed.
IMPORTANT
Tax rules vary by jurisdiction. Before filing, consult a tax professional and adjust your accounting settings to match your local requirements.
See Profit/Loss Report for detailed instructions and the Tax Accounting Guide for a comprehensive walkthrough.
Next Steps
- Settings — Customize your profit currency, display preferences, and more
- Data Management — Manage assets, add missing prices, and organize with tags
- Premium Features — Unlock extended timeframes, advanced analytics, cloud sync, and more